We will show you how to use POP in your Gmail account so you can synchronize your Gmail account across multiple machines, and then how to add your Gmail account to Outlook 2010.
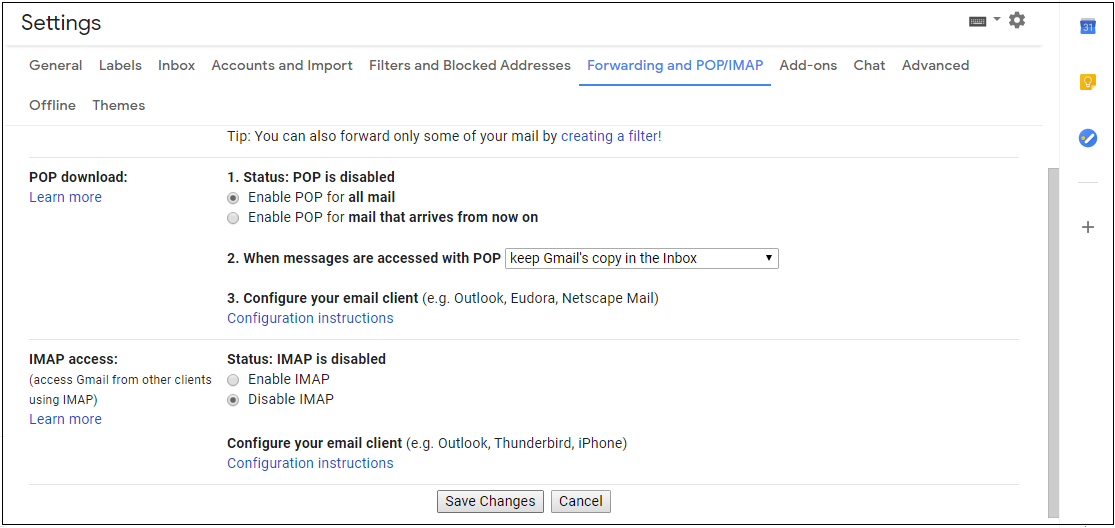
Step-1 Log into your Gmail account. Click on the setting tab and select option Forwarding and POP/IMAP.

Step-2 In the POP download section. Opt Enable POP for all mail or Enable POP for mail that arrives from now on. After selecting an option, click on save changes.
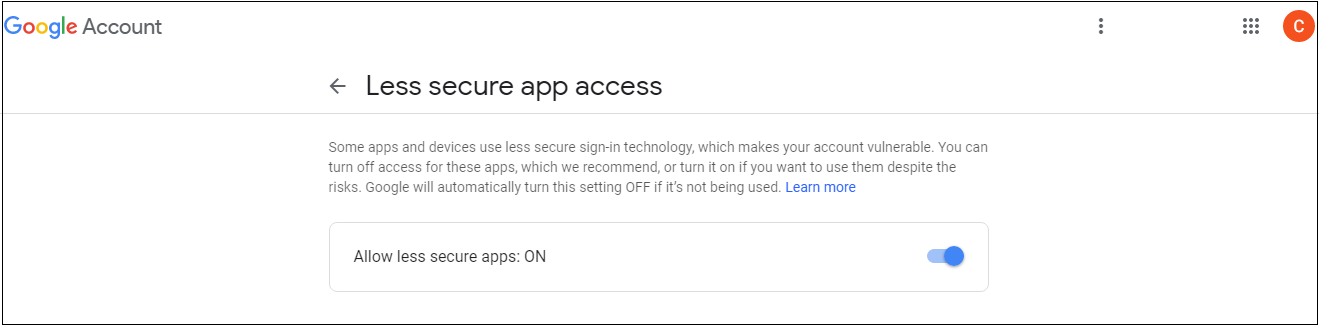
Step-3 You can also allow the less secure app to access your Gmail account.
Automatically add your Gmail account to Outlook 2010
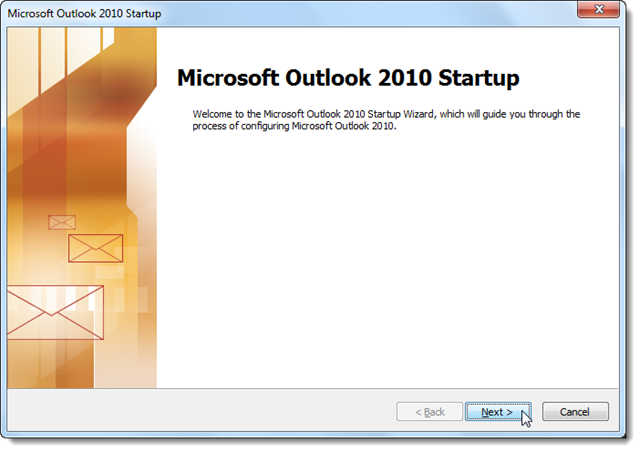
Step-1 Start Outlook 2010 and Click on the Next button to add your email account.
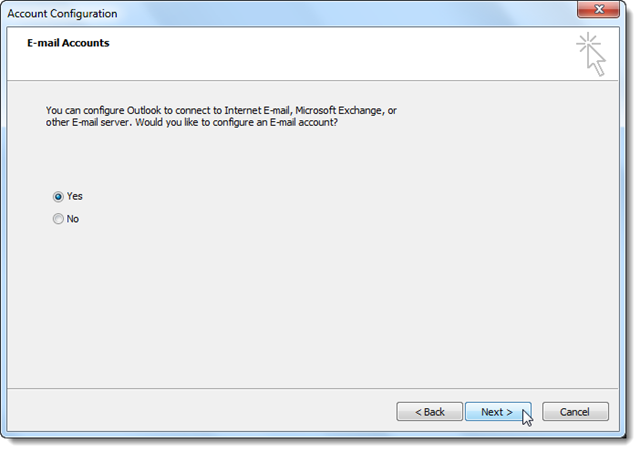
Step-2 Then select Yes option to add Gmail account to Outlook 2010.
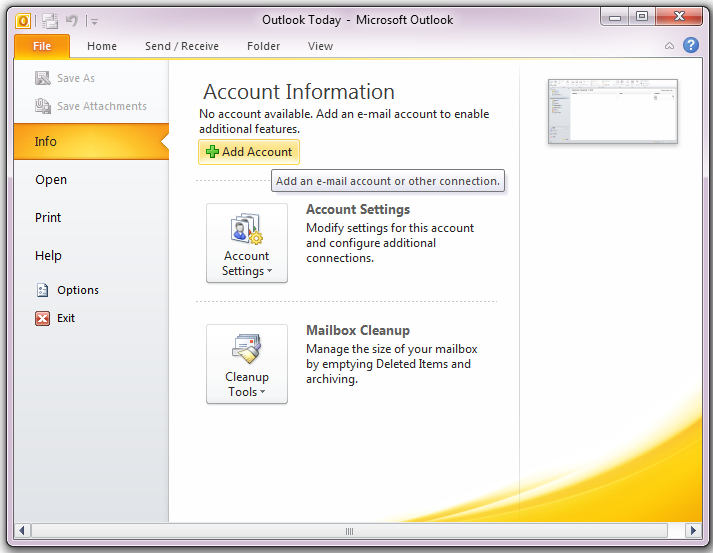
Step-3 Or you can already use Outlook and want to add a new POP account. Then click on the File option and select the Add Account option.
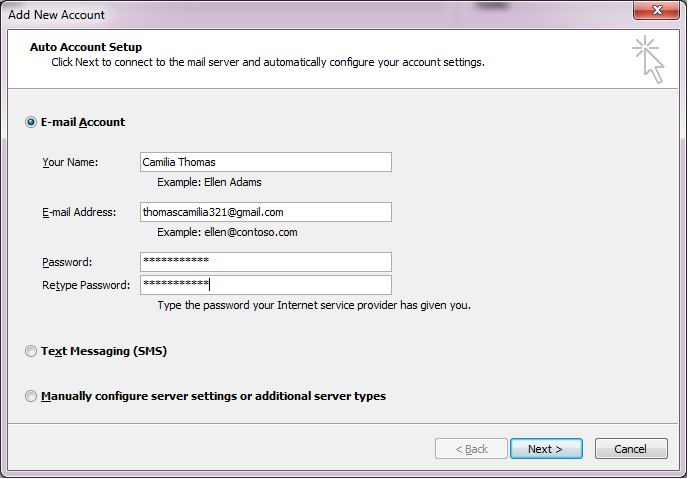
Step-4 Automatically configure your Gmail account to Outlook. Just enter the E-mail address and Password. Click the next option.
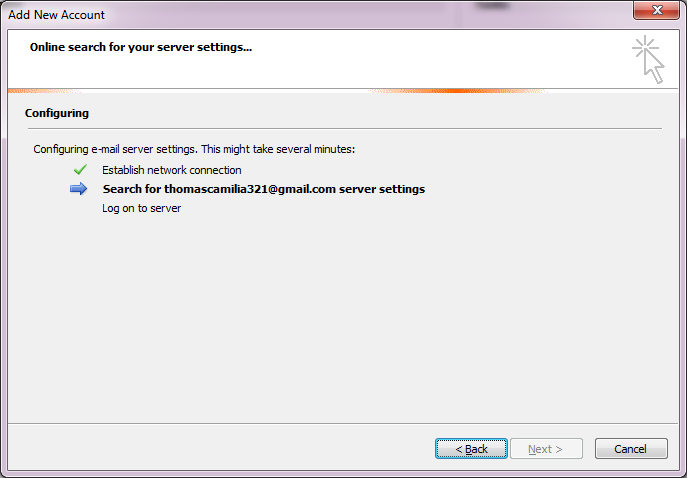
Step-5 Then, Outlook scans your email account.
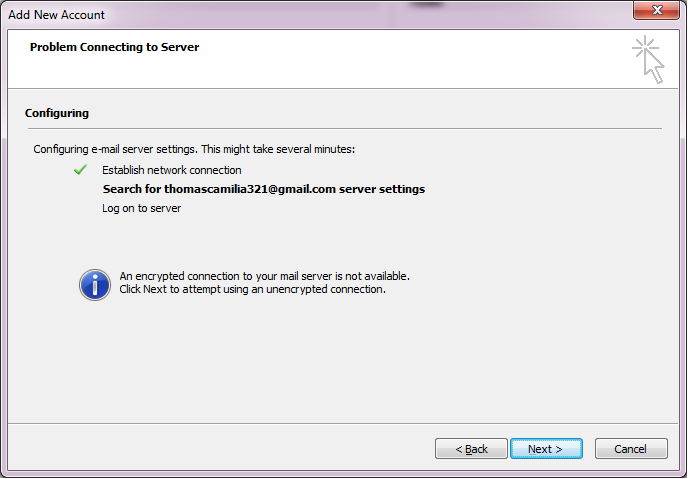
Step-6 If Outlook able to find setting then Outlook configures your account automatically, then you will see a success screen. But sometimes it fails to find setting. In this situation, you will go for a manually configure option.
Manually Configured Gmail account to Outlook
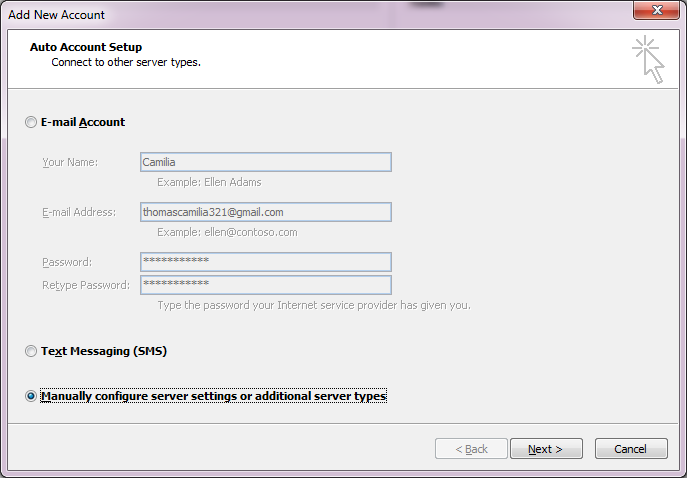
Step-1 Go back to the Account Setup setting and select Manually Configure Server setting option and Click to Next.
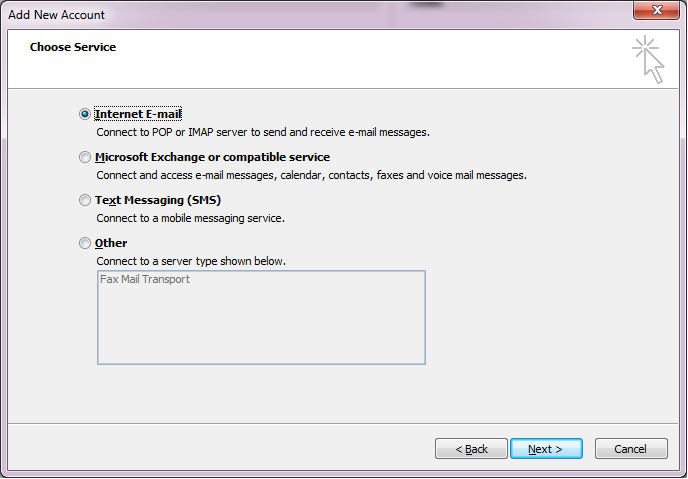
Step-2 Select Internet E-mail option and click next.
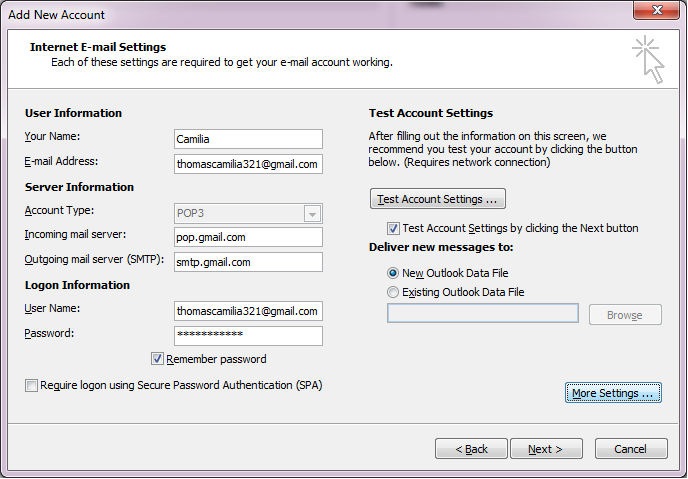
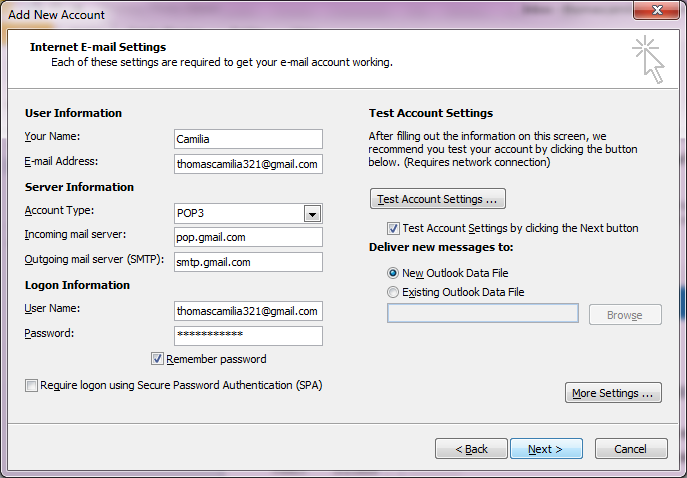
Step-3 After that enter the User information: Name and Email Address and add Login Information: Username and Password also check the Remember Password option, so you don't enter the password every time.
In Server Information fill these details are as below:

Step-4 After filling the information, click on the More Setting button.
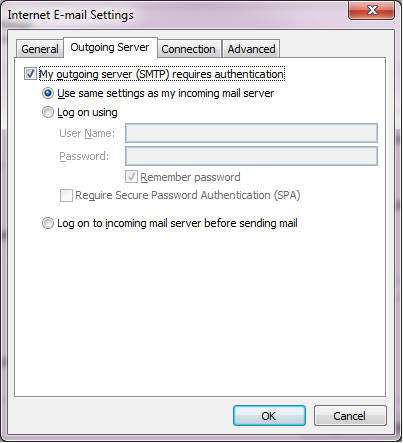
Step-5 Select the Outgoing Server option. Checkbox the "My outgoing server (SMTP) requires authentication". And also mark the option "Use same settings as my incoming mail server" option.
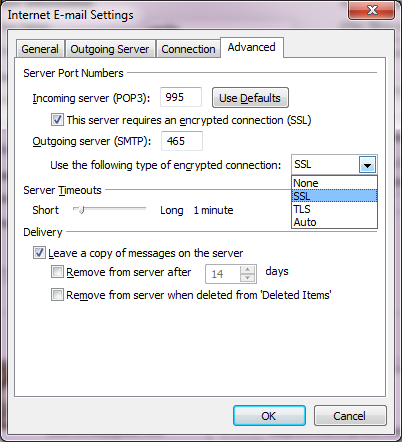
Step-6 Then select the Advanced option and fill the following information:
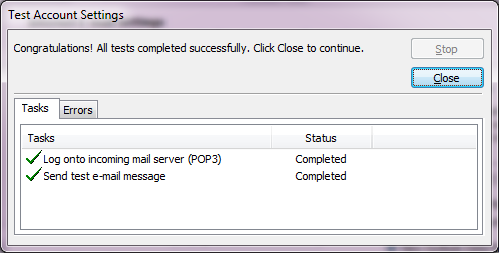
Step-7 Click Ok to Close Window and click on the Next button to test the account setting.
Step-8 Outlook test your account setting. Then click to close the option when it is done.
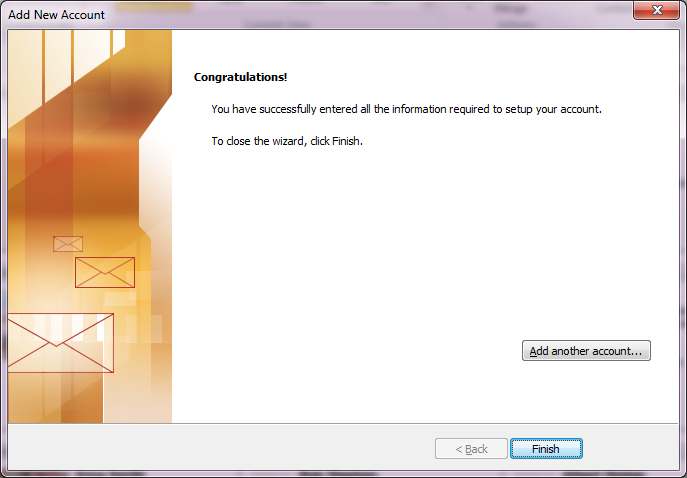
Step-9 After finish the account setting process you will be received with a successful setup message. Click on the Finish button.
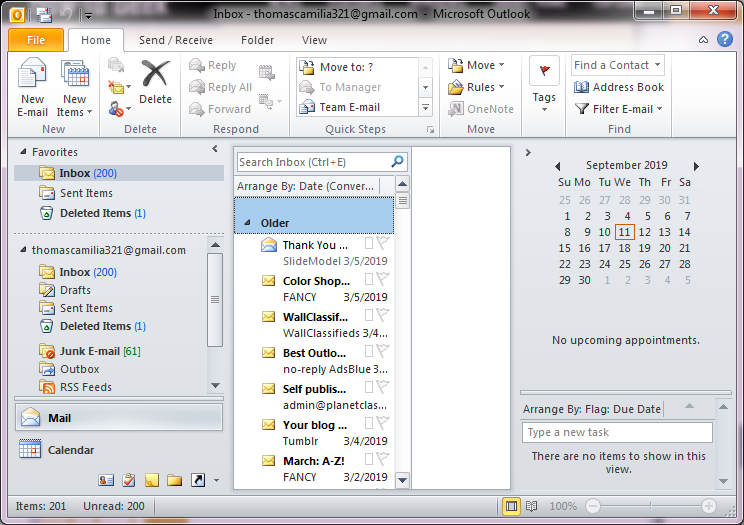
Step-10 After that Outlook sync the Gmail account.
Useful Links


![]()
D - 478, Sector - 7,
Dwarka, New Delhi - 75
India
Call Us
91-9555514144
You can also find us:
![]()

![]()
KDETools Software® is the Registered Trademark of KTools Software Pvt Ltd
© Copyright 2019 www.kdetools.com. All Trademarks Acknowledged.